A safer hunt does not begin with the newest equipment or the fullest pack. Small failures in clothing, navigation, food, lighting or communication can become serious when conditions change. A practical gear audit helps you remove dead weight, repair weak points and make sound decisions before the first mile puts everything under strain.
Start with symptoms, not shopping
Look for signs that equipment is no longer dependable. A catching zipper, leaking rain shell, separating boot sole or flickering headlamp is more than an annoyance. Decide whether to repair, replace or leave the item home only if it is genuinely nonessential.
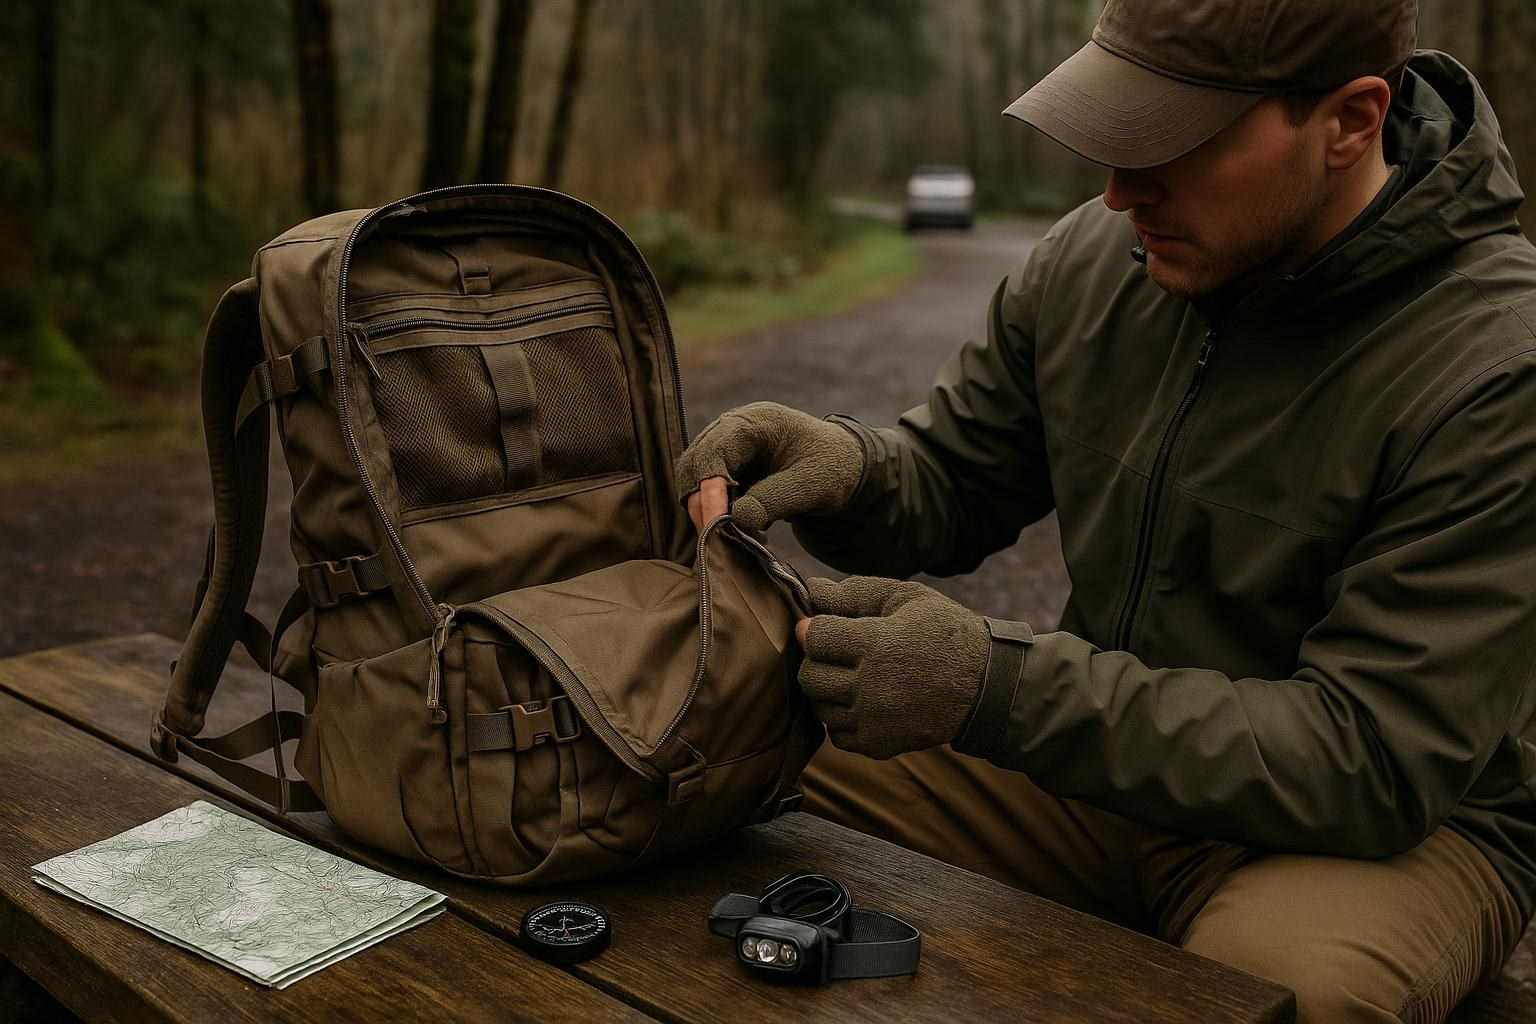
Test gear as you will use it. Wear the loaded pack on stairs or uneven ground, adjust straps over planned layers and open pockets with cold or gloved hands. If a buckle slips, a strap twists or an item is hard to find, fix it before departure rather than relying on improvisation.
Simple items fail, too. Check water containers, batteries, trekking-pole locks, stove parts, seams, closures, cords and attachment points. The goal is not perfection, but knowing which failures are tolerable and which could leave you cold, lost, dehydrated or unable to return safely.
Pack for conditions, not anxiety
Lightweight hunting gear should remove duplication without removing capability. Consider the conditions, distance, terrain and time away from the vehicle, then give each item a job. Several similar knives, redundant clothing or numerous "just in case" accessories may add bulk without improving your options.
Do not cut essential margins to reduce weight. A shell that blocks wind and rain, a warm layer, reliable water treatment, navigation tools, basic first aid, food and a dependable light deserve priority. Choices vary by season and local conditions, but carry what protects function when the forecast is wrong or the return takes longer than expected.
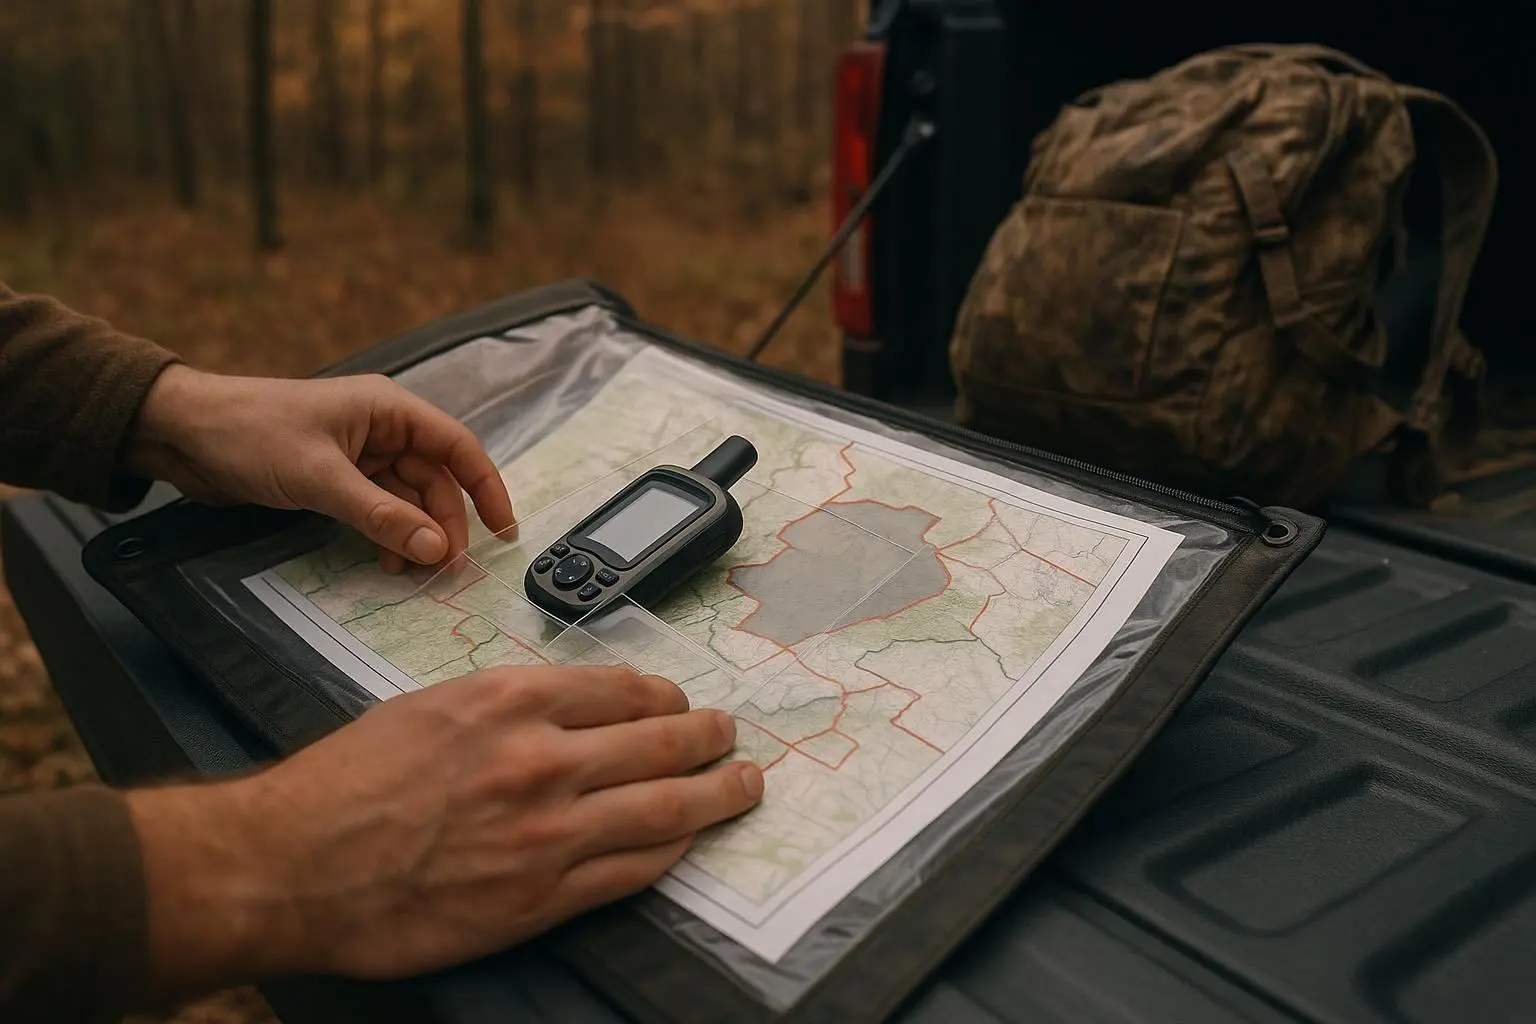
Ask of every item: if it fails, what problem does it solve, and what is my backup? A paper map may support electronic navigation, while spare batteries may be more useful than a second device. The best pack is the lightest setup that still lets you manage foreseeable problems responsibly.
Check critical systems at home
Inspect both equipment and your ability to use it. Operate the shelter, water filter, fire-starting method, communications device and navigation tools before the hunt. Test unfamiliar equipment and power sources at home.
Check batteries by condition, not just quantity. Verify expiration dates on medical supplies and chemical treatments, and inspect cords, fuel containers and elastic components for cracking. Wash and dry clothing, then examine high-wear areas such as knees, cuffs, seat panels and boot collars. Damp storage can cause mildew and hidden damage.
Match safety equipment to the group and route. Share the area, expected return and plan for changes with a trusted person, and keep that information current.
Use one field safety checklist
A short checklist catches omissions when attention is divided. Review it before leaving and make a quick condition check at the trailhead or access point.
– Navigation: map, compass, charged device and power backup; understand the route and return options.
– Communication: working phone or other permitted device, protected from weather, and a clear check-in plan.
– Weather protection: suitable layers, rain protection, dry storage and a way to manage wet or cooling conditions.
– Water and food: enough for the planned duration, with tested treatment.
– Light and first aid: dependable light with spare power and a kit suited to likely cuts, blisters, falls or allergic reactions.
– Fire and shelter: only what is lawful and appropriate, with safe use understood.
– Hunt-specific equipment: unloaded transport when required, secure carrying arrangements, identification or permits, and working equipment.
– Exit plan: a turnaround time, safe route choices and someone who knows when to expect contact.
The checklist supports judgment, not replaces it. If weather, visibility, physical condition or access changes, shortening the outing is a successful decision.
Make ethics part of preparation
Ethical hunting begins before an animal is encountered. Check current rules for the exact area, season and species, including licensing, legal methods, tagging, transport and reporting. Regulations change, so use official guidance for the jurisdiction rather than an old plan or informal summary.
Know access restrictions, closed areas, fire rules, vehicle limits and requirements for waste or carcass handling. Keep food, fuel and equipment from damaging sensitive ground, and avoid shortcuts that widen trails or disturb water sources.
Set your decision standard in advance: take only a shot you can make responsibly, identify the target and what lies beyond it, and stop when conditions make a clean, lawful outcome uncertain. Ethical hunting does not force an opportunity.
Leave behind what no longer earns its place
After each outing, record what failed, went unused or caused delay. A wet garment, dead battery or difficult adjustment reveals more than an advertisement. Repair small issues promptly, replace equipment that is no longer reliable and repack for the next trip rather than from habit.
Over time, this creates a lighter, more capable system while keeping attention on the essentials: staying oriented, managing exposure, respecting regulations and returning with the habitat and hunt treated responsibly.